How to set up Zebra stock label size
Published:
If it's your first time setting up your Zebra printer you will most likely need to set up a default stock size first.
First of all here are the default settings:
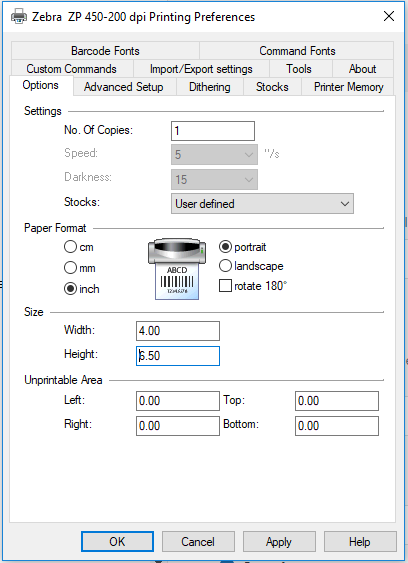
Now see below for the steps to set up a stock label size.
Please note: This guide is only for Windows users. If you're on a Mac computer and having issues please contact the Zenstores support team on support@zenstores.com
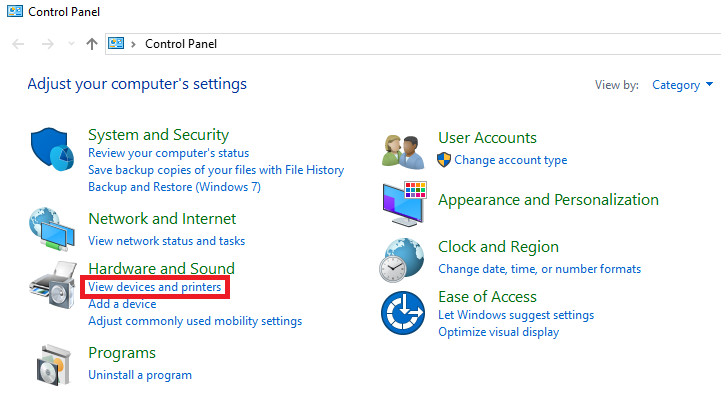
1. First of all go to Control Panel and click on View Devices and Printers.
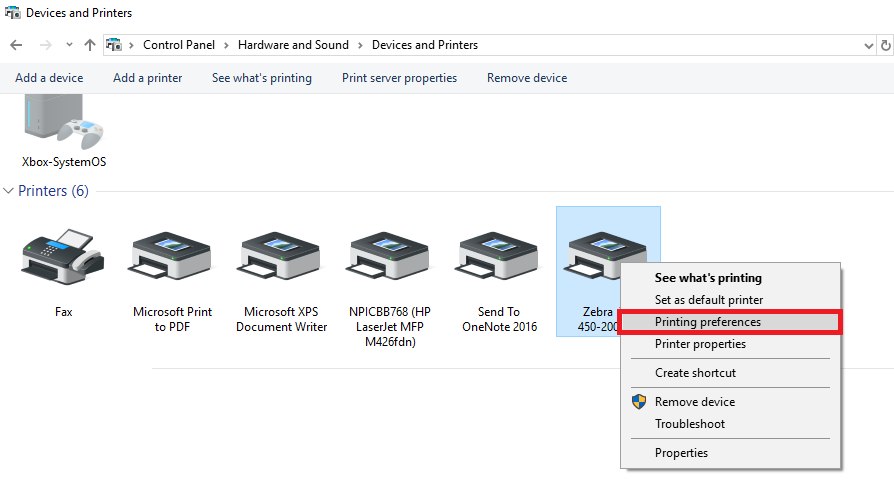
2. Right-click your Zebra printer and then select Printing preferences
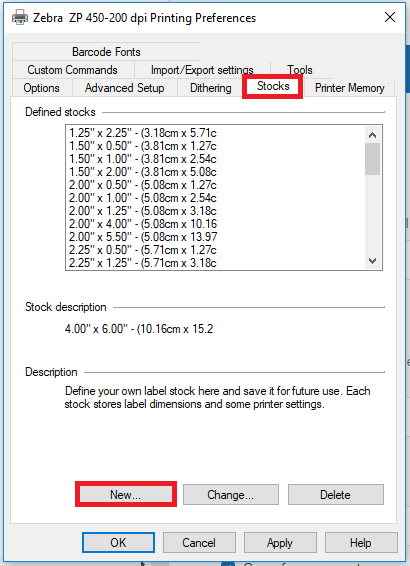
3. When the printing preferences windows pops up click Stocks from the settings tabs and then click the New button.
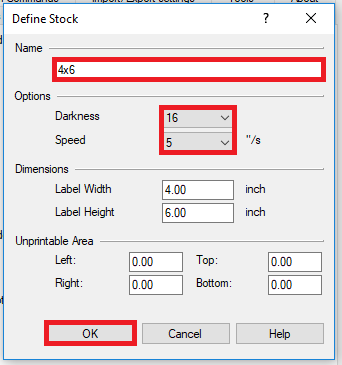
4. You can now set up dimensions and settings for your new label size.
In this example I've called the label 4x6, this is because for most couriers we support the default label size is 4" x 6" inches. But you can call your label whatever you like.
If they aren't already set to this then I suggest changing Darkness to 16 and Speed 5. Theses are generally the best settings and will work for most users.
Then finally you can click the OK button.
5. This will take you back to printing preferences window, now click the Options tab. From the Stocks dropdown menu select your newly created label stock 4x6 and then click the Apply button.
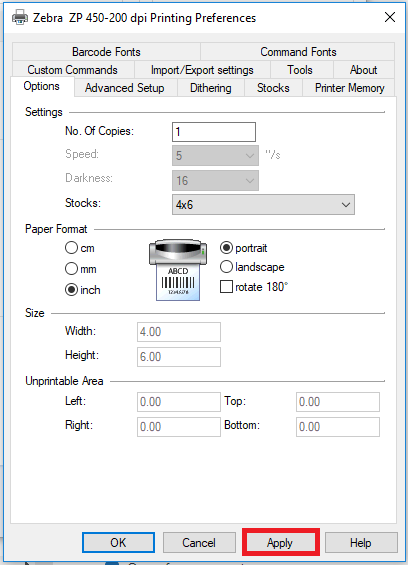
And that’s all you need to do, now when you are printing labels your system should choose this newly created label by default.
Ship faster, sell more, delight every customer
Join thousands of brands using Zenstores to power every step of their ecommerce delivery experience.
